Quickstart
Five minutes from "I've never run Provar" to "I've got a passing test" using the bundled demo-social sample. If something blocks you, the troubleshooting page covers the ten most common ways this goes sideways — make a coffee in the meantime.
Action 1: Install the app
Grab the desktop build for your platform. The installer ships Provar — the editor, the engine, the runtime — all in one package. No separate toolchain to set up first.
macOS
Download Provar.app and drag it to your Applications directory.
Windows
Download and run the provar-desktop.exe file
Linux
coming soon
Action 2: Try the sample project
Launch the editor. The empty-state screen shows two cards: Create sample project (recommended) and Open a folder. Click the first one.
A native folder picker opens. Pick a temporary directory you'll be happy to delete later —
for example, ~/Code/provar-sample. The editor clones demo-social into the chosen folder and opens it as the active project. The sample is a tiny microblogging
app with some example files.
Open a terminal, change into the sample folder, and start its dev server:
cd ~/Code/provar-sample/demo-social
bun run dev
The server listens on http://localhost:6001. Leave it running in the background —
the editor will hit it as each action executes. (Bun ships with the editor's bundled toolchain,
so you don't need to install it separately.)
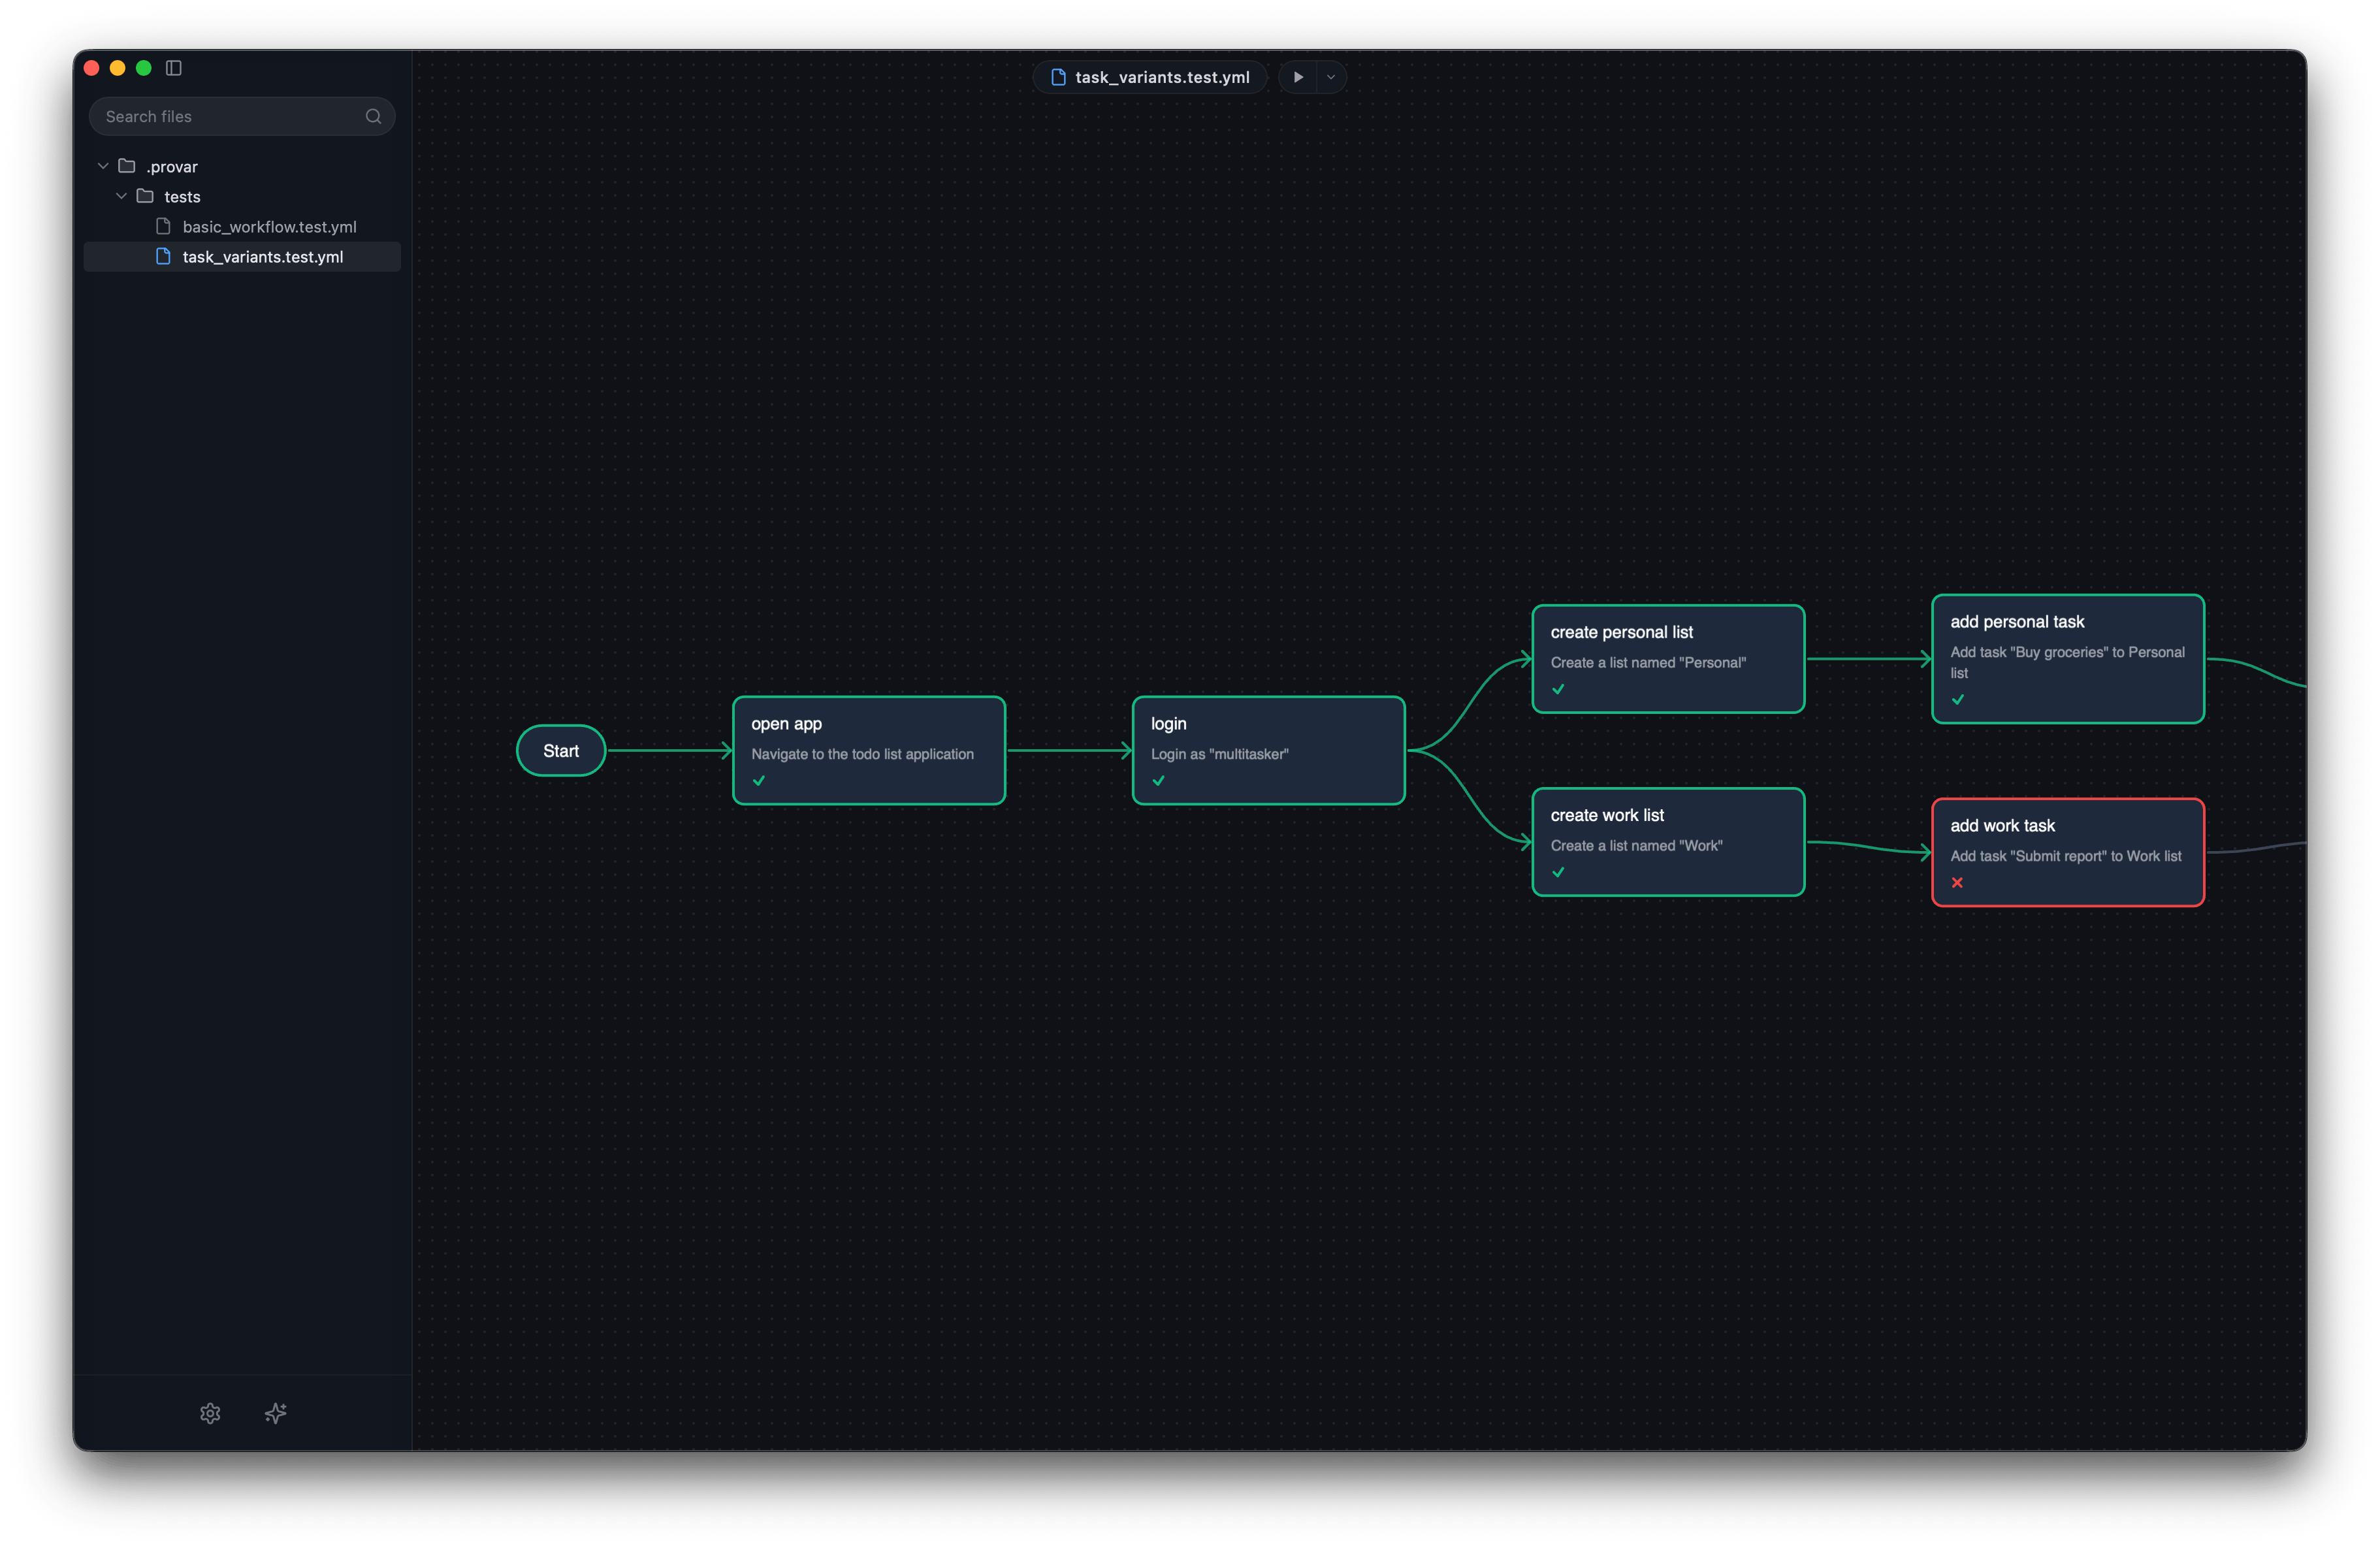
Back in the editor, the project explorer shows the sample's files with the first one pre-selected. Click the Run button (▶) in the toolbar. The editor executes the file against the running sample. First run: every action records a fresh snapshot. Accept the snapshots when prompted — you should see green checkmarks across the board. If you see red, don't panic; the troubleshooting page has you covered.
Action 3: Start a new project
Back at the editor's empty-state screen, click Open a folder this time and
pick a directory that contains (or will contain) your application. The editor creates the .provar/ scaffold — config.yml, a tests/ folder, an
empty screenshots/ folder. Nothing in your app folder is touched.
Open .provar/config.yml and set variables.baseUrl to your app's
URL. Then, in the editor, draw a first action on the canvas — pick the start action, edit its name and info in the right sidebar, and click Regenerate. The first time you regenerate, the editor asks for an LLM API key — see
the note below if you want to set one up.
Once the key is in place, the agent writes the Playwright code for that action and runs it against your app. The new TypeScript shows up as a regular file in your project — reviewable, diffable, runnable on its own. Add more actions, regenerate each one, and you've got a real test suite for your own app.
From here on out, writing a test is "draw an action, describe what it should do, regenerate, accept the snapshot." The agent does the boring Playwright bit; you do the part that requires knowing what your app is supposed to do.
About the AI features
Provar's visual editor, the canvas, the snapshot review, the local test engine — all of that works without an LLM. You only need an API key when you want the agent to write new code for an action (via the Regenerate button) or use the assistant panel.
Supported providers: OpenAI, Anthropic, or any OpenAI-shape endpoint. Set the key once via
Provar → Settings… and the editor stores it locally at ~/.provar/settings.yml. It never leaves your machine.
If you'd rather drive everything from a terminal — no GUI, no key required for the test loop — see the provar-cli quickstart. It uses the same engine, just without the canvas.