provar/app
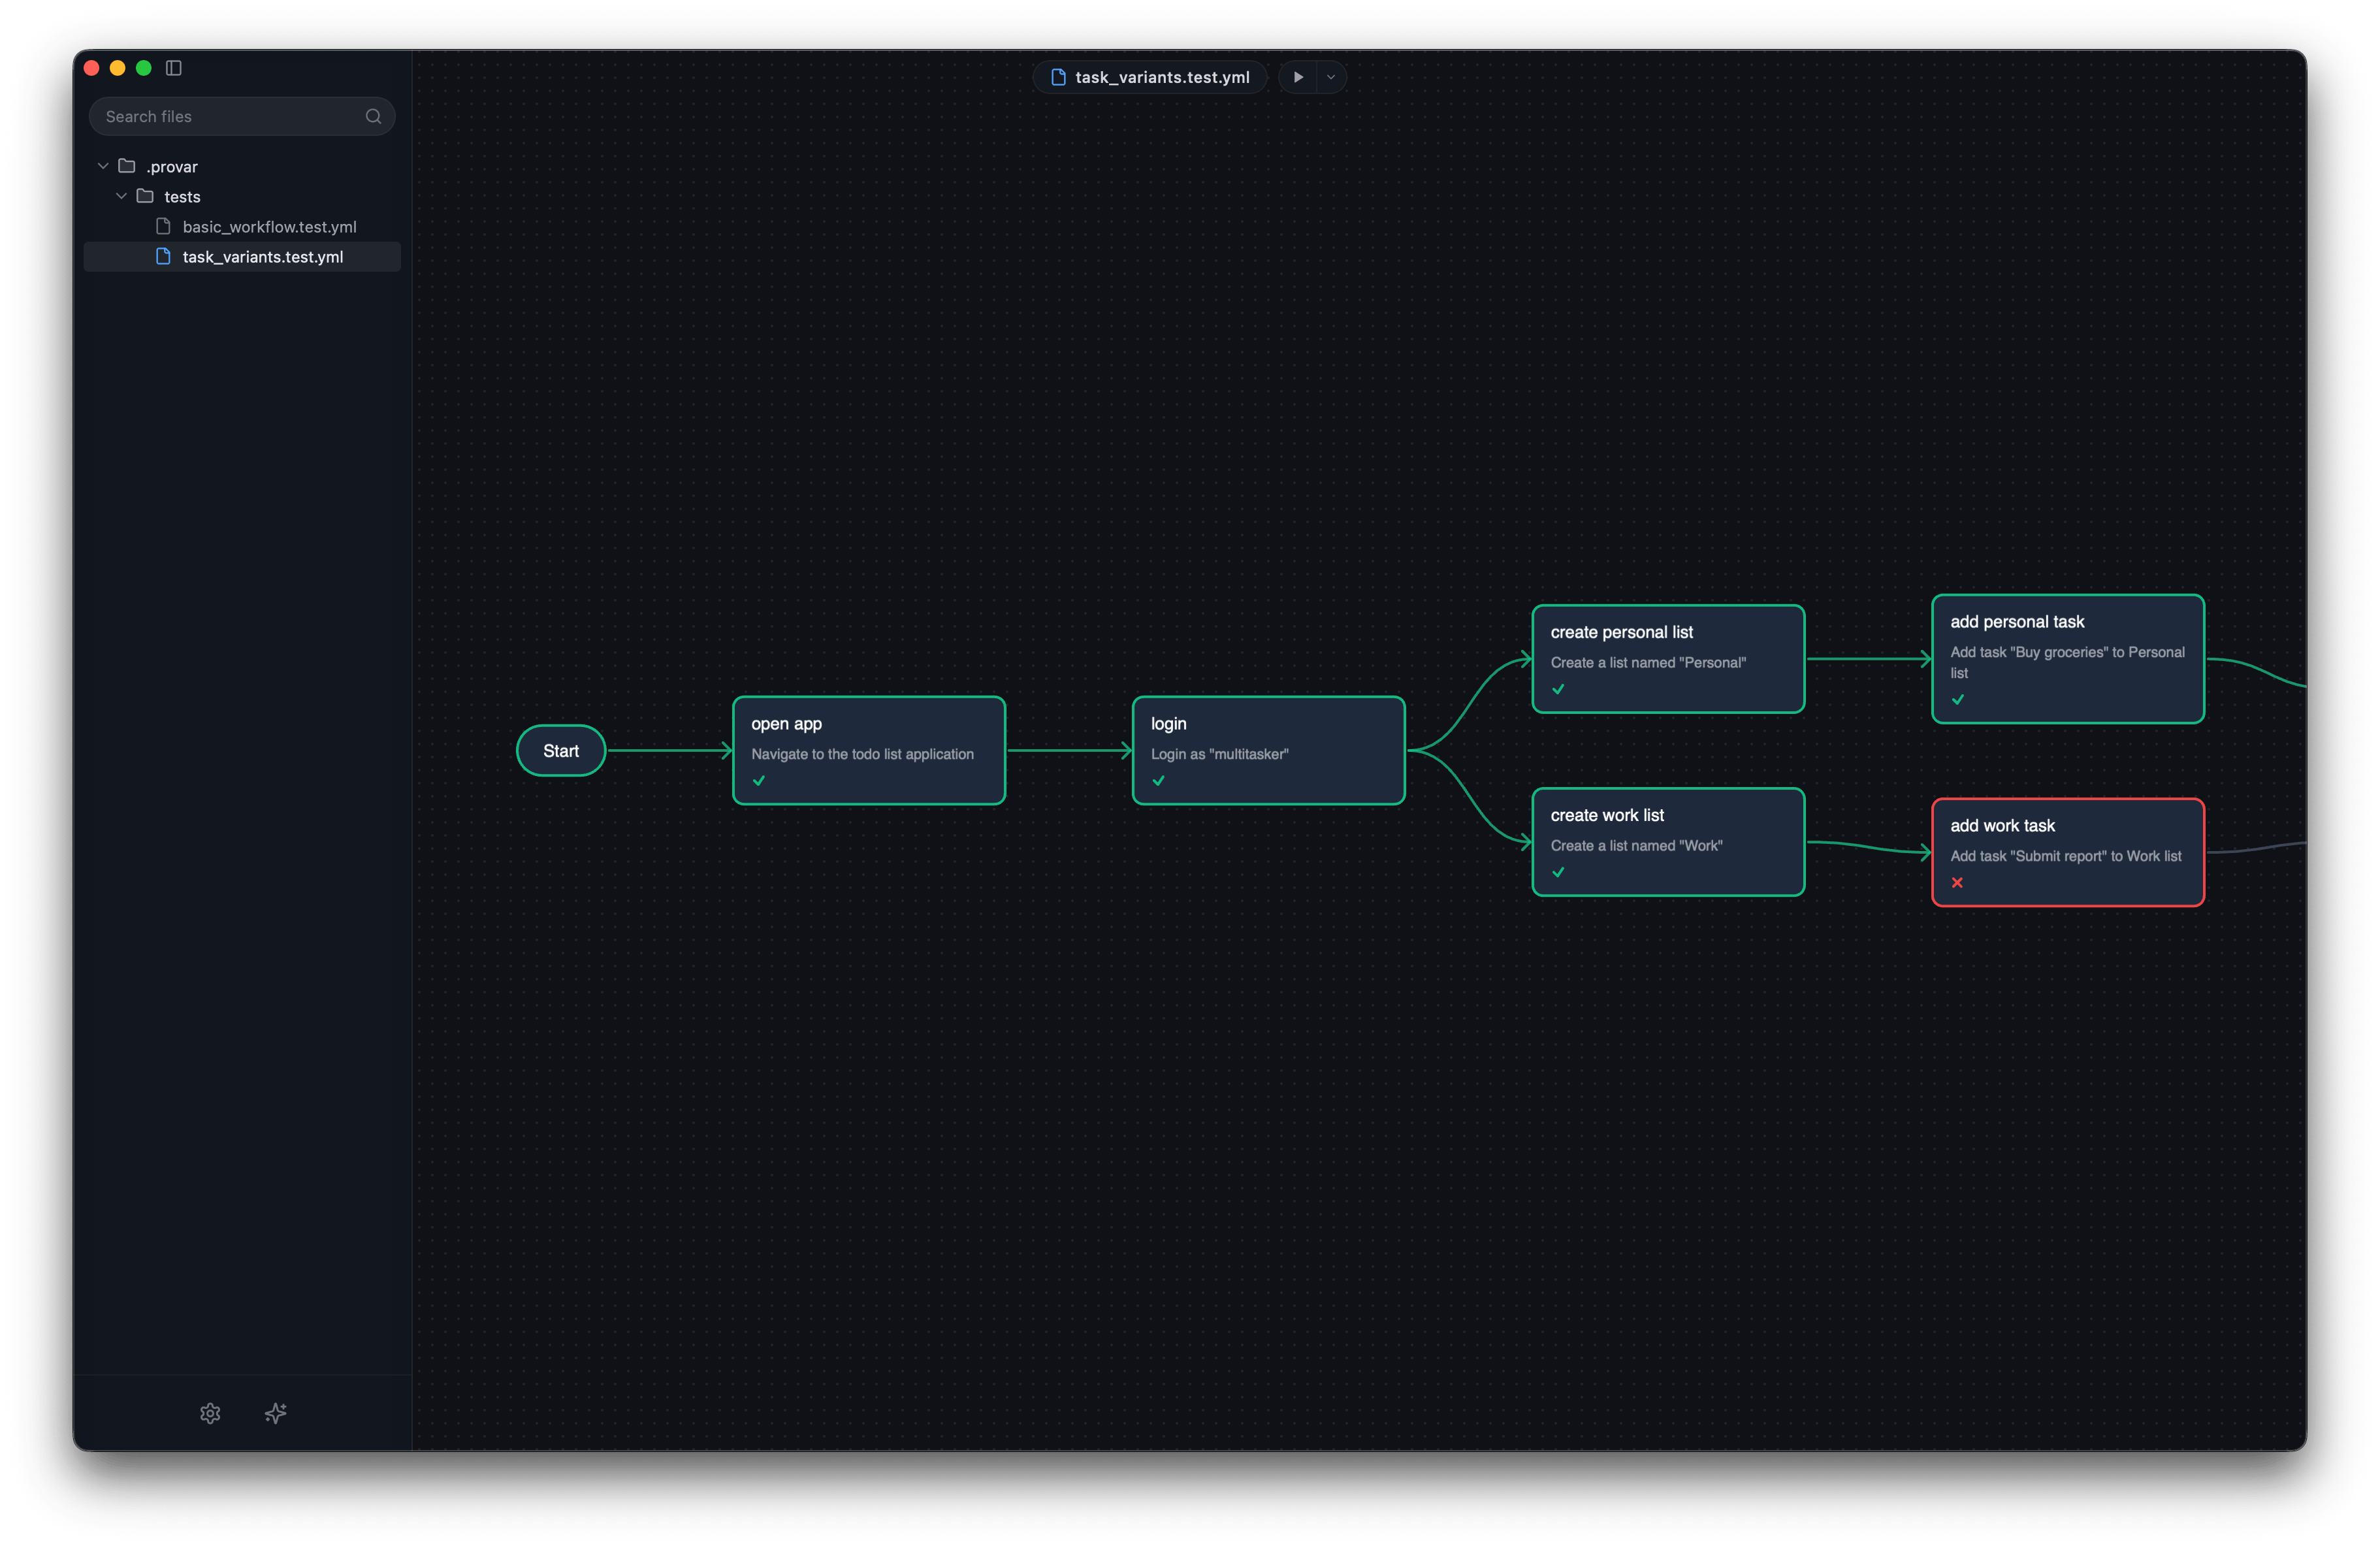
The desktop editor. A visual canvas where you draw the user journey as a graph of actions, the AI agent writes the underlying Playwright code, and the run panel shows you what actually happened — including a side-by-side snapshot diff when something changes. If you spend most of your day in a browser-based test tool, this is the one you want.
What it actually is
provar-app is an Electrobun desktop application — a small native shell that loads the Svelte UI and a bundled Chromium for rendering files. It's a dev tool at heart, not a polished consumer app: a debug console in the dev build, a real release pipeline in tagged builds, and a UX that takes a few cues from Blender and Figma. You'll like it or you'll switch to the CLI; both are valid.
System requirements
- Operating system. macOS (Apple Silicon or Intel) for the packaged build. Linux and Windows are runnable from source; native installers for those are on the way.
- Bun 1.1 or later. The runtime that drives the dev server and bundles the UI. Install it from bun.sh.
- Playwright browsers (Chromium). Provar drives a real Chromium under the
hood, so the browser binary has to be on disk. One-time install:
bunx playwright install chromium. - LLM API key. OpenAI, Anthropic, or any OpenAI-shape endpoint. Stored
locally in
~/.provar/settings.json; never uploaded. - Disk. ~400 MB for the editor + bundled Chromium. Larger projects with
many baselines add PNGs under
.provar/screenshots/; budget a few MB per action. - RAM. 8 GB minimum, 16 GB comfortable. The editor is fine on a small laptop; it's not fine on the 4 GB Chromebook.
Quickstart
This is the shortest path from "I just cloned the repo" to "I have a passing file in the editor". If you'd rather drive everything from a terminal, see the provar-cli quickstart instead.
1. Get the code
git clone https://github.com/thani-sh/provar.git
cd provar
bun install
2. Launch the editor
bun --cwd apps/provar-app devThe editor opens to an empty-state screen with two cards. Click Create sample project — that's the easy path. The editor will ask where to put the sample, clone demo-social into the chosen folder, and open it as the active project.
3. Add your API key
The first time you open a project, the editor asks for an LLM API key (Provar → Settings…).
Paste it, save, done. The key lives at ~/.provar/settings.json.
4. Start the sample app
In a second terminal:
cd ~/Code/provar-sample/demo-social
bun install
bun run dev
The server listens on http://localhost:6001. Leave it running.
5. Run the file
Back in the editor, the project explorer pre-selects login-flow.test.yml. Click the Run button (▶) in the toolbar. The editor
compiles the YAML into Playwright code (one LLM round-trip per action the first time), then
executes it. First run: accept the snapshots when prompted. You should see green across all
five actions.
6. Point it at your own app
Edit .provar/config.yml in the sample project and change variables.baseUrl to your app's URL. Click Regenerate on any action and
the agent re-runs that action against your app. Repeat until everything's green.
Want the longer version? The main quickstart covers the same flow with more detail and a few extra tips. And if the editor isn't your speed, the provar-cli page is the terminal-first counterpart.